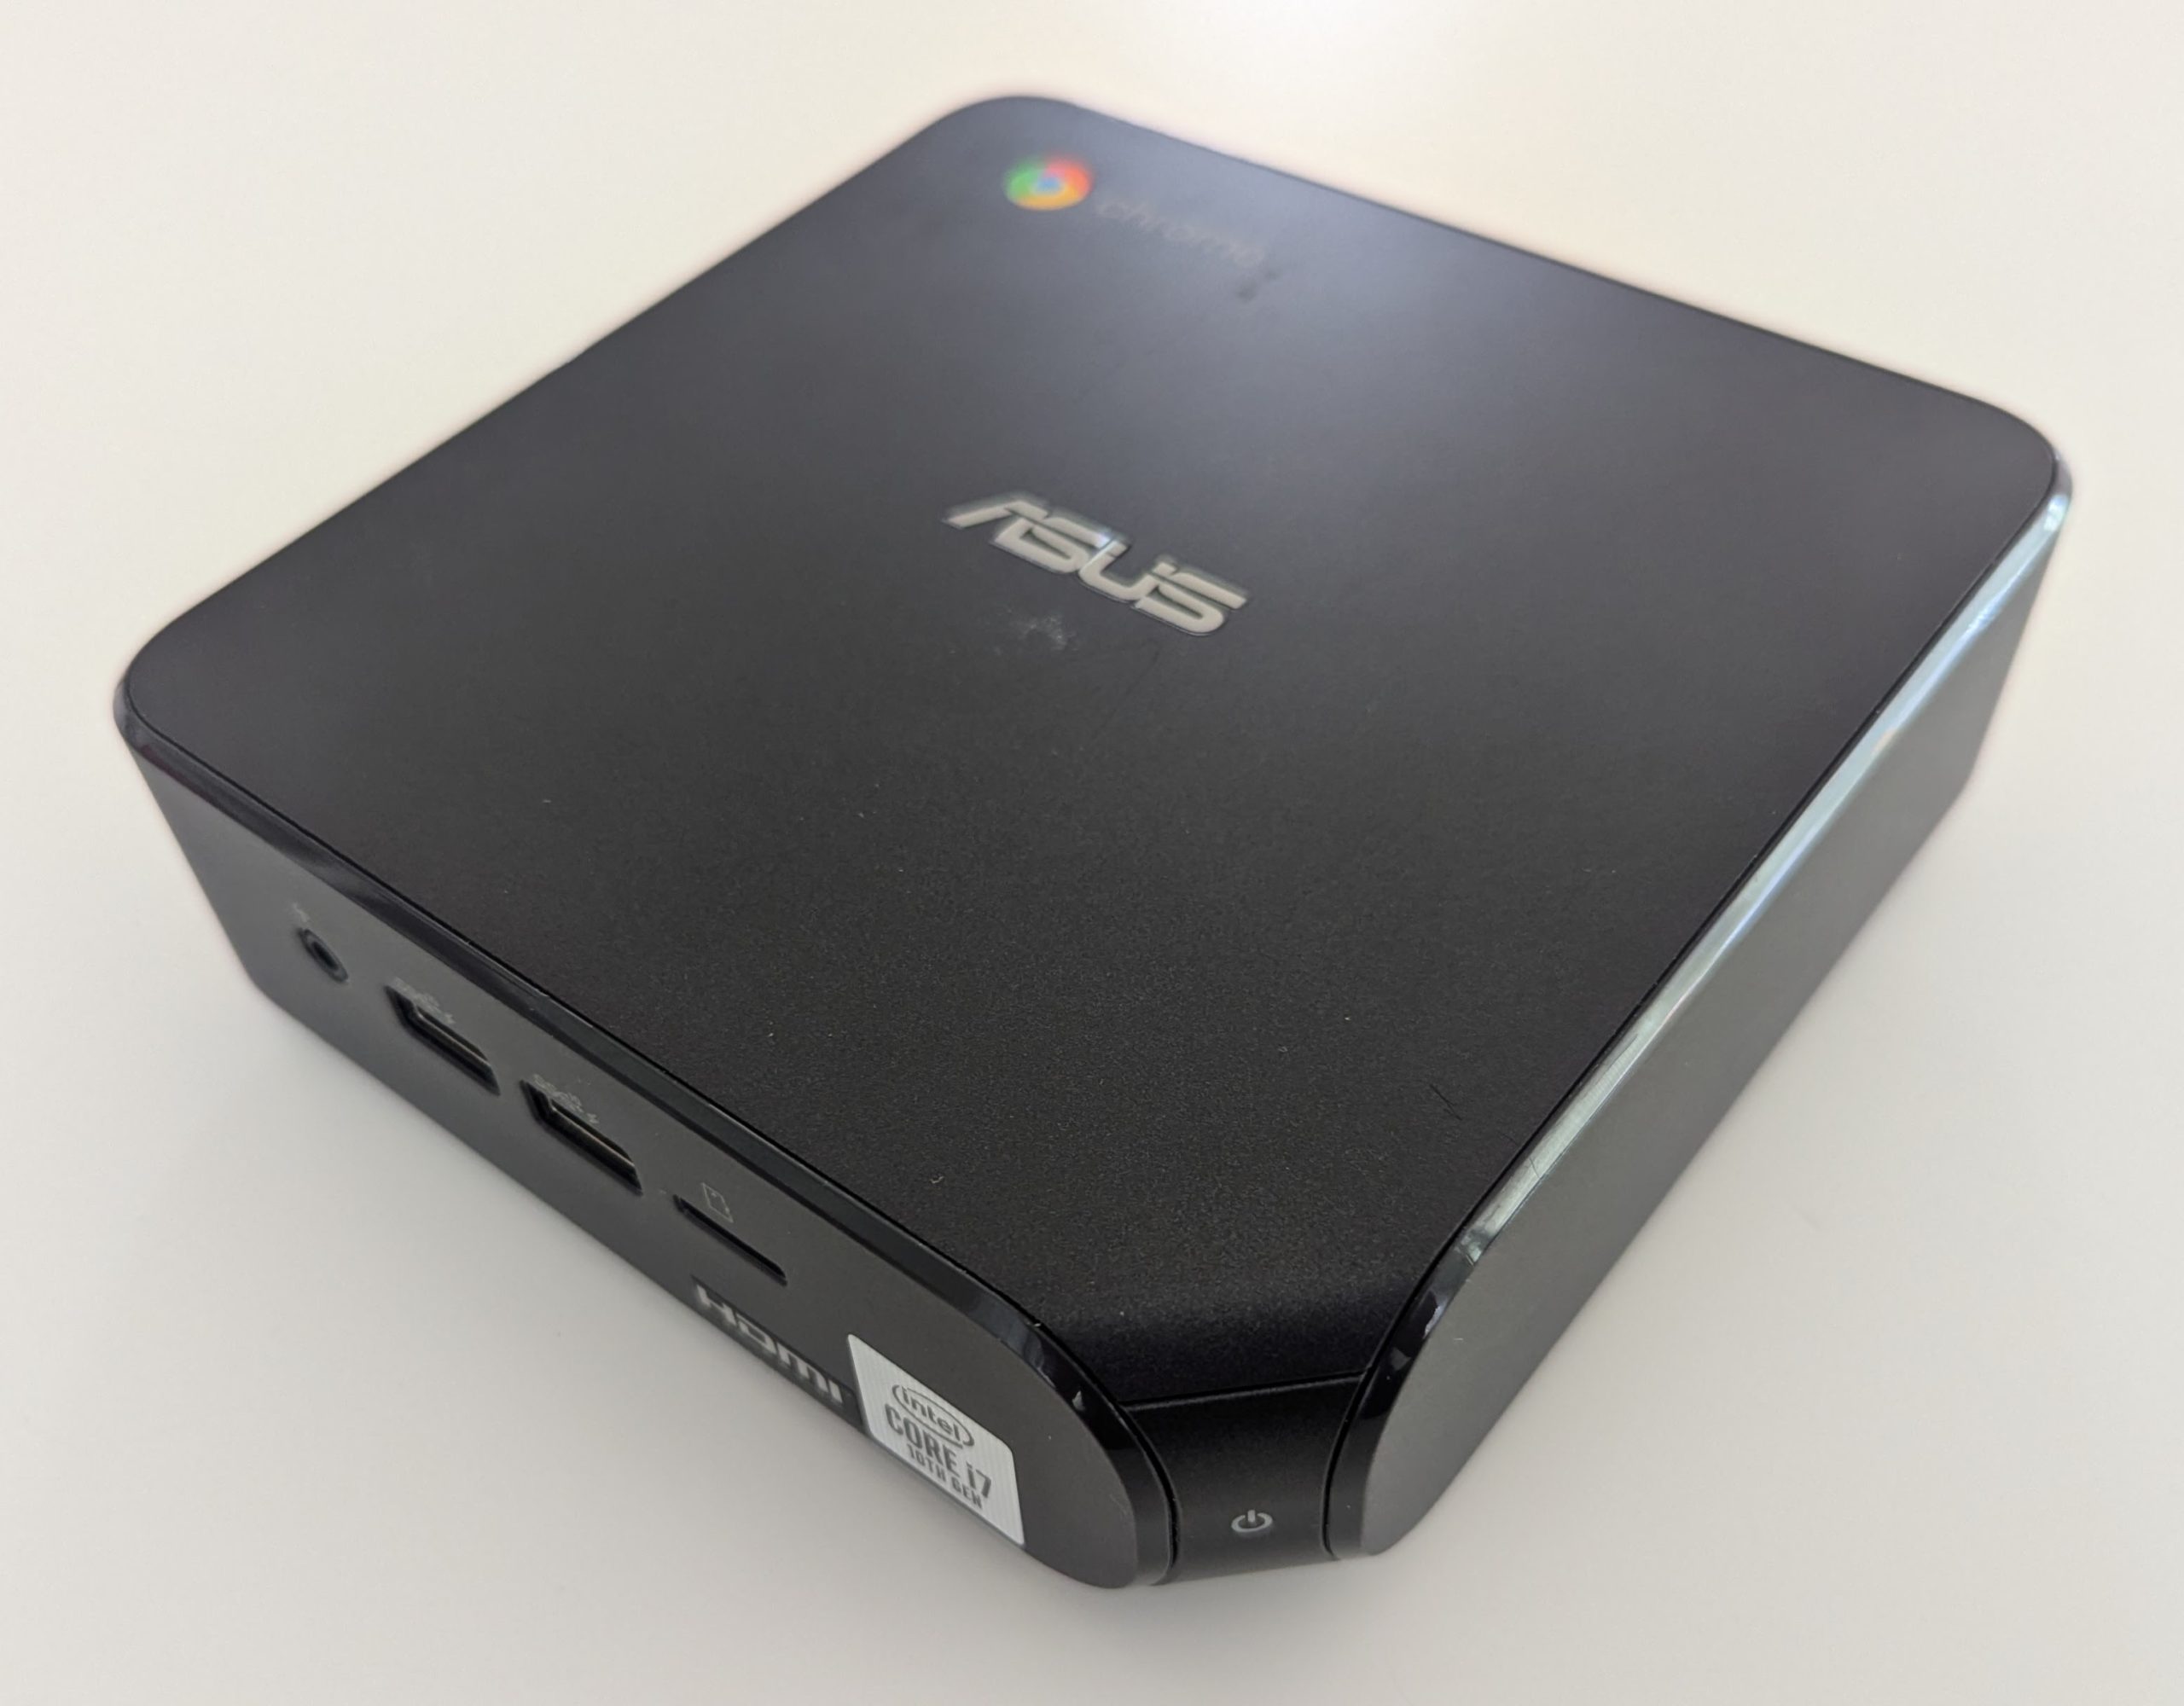
Many have said it and I have to agree: don’t get a Chromebook as “a nice small PC”. They ain’t. Just some problems I ran across:
- Installing anything other than ChromeOS on it requires complex fiddling (including reflashing parts of the firmware from “some random website” on the internet) which maybe will void your warranty and has a non-trivial chance to brick your box
- With all the respect to the people creating the custom firmware: it’s a hobby for them, and it shows (again, it’s a great thing they are doing, just setting expectations here). For example, I can’t set a BIOS password. Also, even though SecureBoot is half-working (as in, when it’s enabled, it refuses to run MemTest because it’s “unsigned”), Ubuntu still can’t use the TPM to encrypt the disk.
- Finally, the hardware support is probably less than stellar. For example I couldn’t get HDMI audio out to work. It may be related to the driver (here is a tweak I didn’t try yet) or I might need to get a HDMI audio injector (or two). Oh, and the Ubuntu install just managed to corrupt itself. I didn’t have time yet to do a reinstall and try diagnosing it…
That said, here are the cliff-notes:
- Enable developer mode – this will wipe your device!!
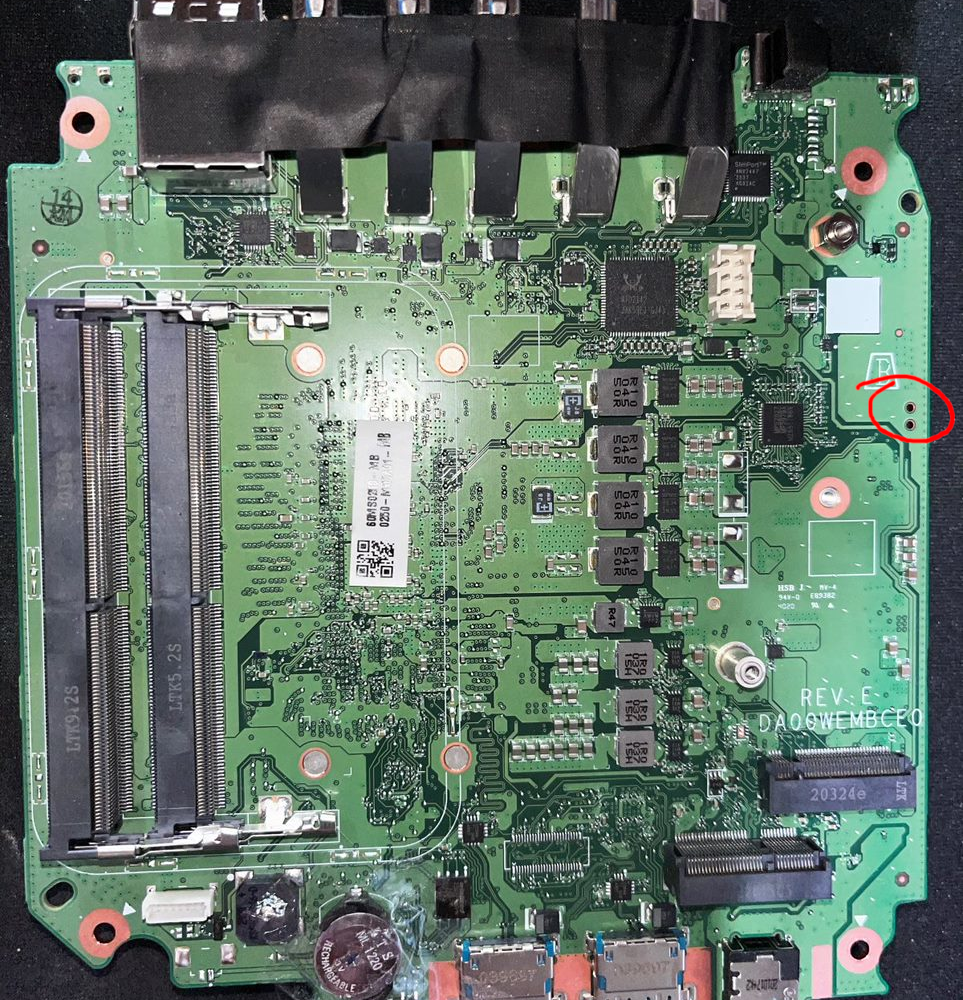
- Shut down the machine. Disassemble it (here is my iFixit guide showing how to) and carefully short the write protection jumpers, as shown here: https://docs.mrchromebox.tech/images/wp/Duffy_wp_jumper.png
- Make sure that the paperclip is not pushed through too much, such that it shorts to the metal shield on the bottom
- This is also a good opportunity to do any SSD/RAM upgrade you might want to do. If you upgrade the SSD, you first need to use a recovery stick (see my iFixit guide).
- The “remove the battery” mode didn’t work for me. Plus, the battery holder is very flimsy and easy to break! (ask how I know :/)
- As written in the guide, you can use an USB-C (laptop)charger to temporarily power the box while it’s opened up to make the setup less awkward (because the 19V input jack is on the upper panel you just removed)
- Boot up in developer mode, log in
- Now switch to the second terminal (Ctrl+Alt+F2), login with “chronos” as instructed (doesn’t need a password). Using Ctrl+Alt+T to launch a shell does not work! It will give an error when trying to use sudo:
The “no new privileges” flag is set, which prevents sudo from running as root.If sudo is running in a container, you may need to adjust the container configuration to disable the flag .
Use the second terminal! (Ctrl+Alt+F2) - Run the commands:
cd
curl -LO mrchromebox.tech/firmware-util.sh
sudo install -Dt /usr/local/bin -m 755 firmware-util.sh
sudo firmware-util.sh - Yes, we need to download random scripts from the internet to make this work :(. Yes, the shell script really needs to be copied to /usr/local/bin, we can’t run it from the home directory, even if we try to set the executable bit.
- Choose option 2 (“Install/Update UEFI (Full ROM) Firmware”). On the first run it will talk about disabling software write protect and ask you to reboot. Do so.
- After rebooting log in. Even though you’re able to enter the second terminal (Ctrl+Alt+F2) without logging in, you won’t see the install script! Have a USB stick read to back up the original firmware. Confirm that you can see it in ChromeOS before switching to the terminal.
- Switch to the terminal (Ctrl+Alt+F2). Login as “chronos”. Run the install script again (
sudo firmware-util.sh) and choose option 2 (“Install/Update UEFI (Full ROM) Firmware”). - This time it should run to the end and reboot your box. You can now remove the short on the write-protect pins and re-assemble your chromebox.
- Now you should be able to use an USB stick to install your GNU/Linux distribution of choice. If the box doesn’t seem to want to boot from the USB stick, even after adjusting the boot order, select the “Boot options” (or something similar, I’m writing this from memory – it’s the first menu option) and select the USB stick directly.
That’s it folks!